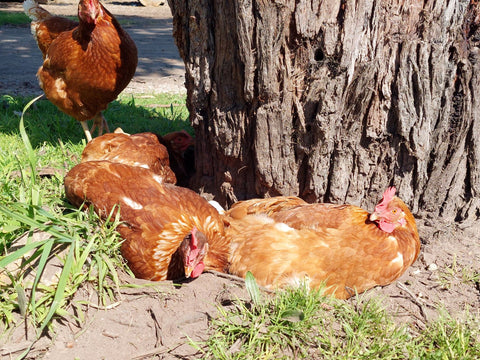
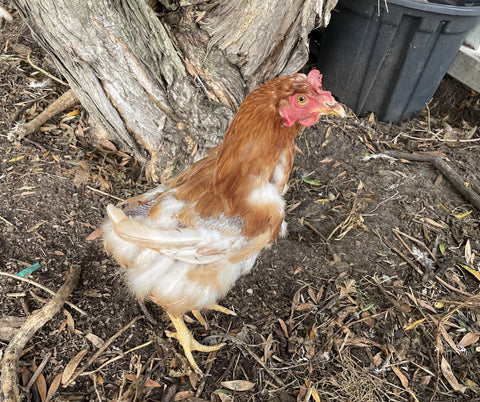
If you keep backyard chickens, chances are you'll have to deal with external parasites like chicken mites and lice at some point. These little pests can cause major discomfort and health issues for your flock if left untreated. But don't worry, with some knowledge and a proactive approach, you can keep them in check naturally and stop them from gaining a foothold in your chicken coop.
What are Chicken Mites and Lice?
Let's start with the basics. Mites are pesky eight-legged creatures that suck blood from your chickens while lice have six legs and feed on feather dander and dead skin cells/flakes. Mites such as the Red Mite and Northern Fowl Mite can lead to anemia in chickens by draining their blood. They can also transfer diseases through their direct access to your chicken’s bloodstream. Lice, on the other hand, are the lesser of the two evils as they cause itchiness, redness and skin inflammation but don’t pierce the skin to drink blood.
In Victoria's cooler climate, poultry lice are more common than mites. While lice don't survive long off the bird, they spread easily through direct contact. Mites thrive in warmer areas but can take hold anywhere if conditions are right. A key difference is that lice stay on the birds while red mites hide in the coop's nooks, crannies, cracks, and crevices during the day, feeding on chickens at night.
Recent environmental conditions (August 2023 - April 2024), seem to have greatly increased red mite numbers in Victoria. During this period, I heard from customers with red mite issues at least twice a week.
Identifying Chicken Lice
To control these pests effectively, you first need to identify exactly which ones you're dealing with. Lice are small, straw-coloured insects around 1-6mm long, often with an elongated abdomen. This means they can be seen without too much effort using the naked eye.
You're most likely to spot lice and their egg clusters (nits), by looking at the base of the feathers around the vent area, under wings, breast and thighs. The nits cement tightly to feather shafts in little "fans". Parting the feathers in these areas to look down at the skin can reveal lice scurrying away from the light if they are present.
Identifying Chicken Mites
Mites look like tiny, moving dark specks. The red mite, a common Australian blood-sucker, attaches at night but hides in cracks and crevices during the day (where it also lays eggs). Mites are between 0.5 - 1mm long so not easy to see. The northern fowl mite is another nuisance, actively living, feeding and laying eggs on chickens 24/7. However, they're more common in warmer climates in the northern parts of Australia.
Heavy northern fowl mite infestations can turn feathers dark from accumulated dried blood and excretions, especially around the vent area. You may also see scabbing and reddened, inflamed skin. Using a bright flashlight can stimulate the mites to move around, making them more visible when searching for them at the base of the feathers.
Scaly Leg Mite
The highly contagious scaly leg mite is another species to watch for. While difficult to spot with the naked eye, signs are a scruffy, crusty appearance on the legs and claws of chickens that can progress to deformities and crippling if left unchecked. Leg mites must be suffocated in order to kill them without chemicals.
Isolate any affected birds and apply a barrier cream treatment daily for 10 to 14 days, gently scraping off dead scales between applications. Our customers have had success with using beeswax, lanoline, vaseline and different types of balms - the thicker the better. To prepare before the application of vaseline or balms, we recommend gently soaking the legs of chickens in a warm bath containing
How They Spread
Wild birds frequently transfer lice and mites to chickens who share food and water sources. Newly introduced chickens can also harbour unseen infestations that spread rapidly through direct contact with your existing flock. The same goes for rodents that can carry and transfer these parasites between animals.
Regular checks are crucial, especially inspecting any new birds before adding them to your flock and quarantining if needed. Lice don't tend to cause symptoms straight away so by the time you notice restlessness, bald patches or excessive feather loss, the infestation could be quite advanced. Red mites are sneakier since they only come out at night so you'll need to inspect the coop and birds with a bright torch after sundown. Look for the telltale signs of red mite activity which is their cigarette ash-looking faeces.
Understanding Their Life Cycles
To treat these external parasites effectively, you need to understand their different life cycles:
Poultry Lice:
- Eggs hatch in 7 days
- Take 21 days to reach adulthood
- Adult lifespan is 14 days
- Eggs cement to the base of feather shafts in "fans"
Mites:
- Eggs can start hatching in 3 days
- Reach adulthood in 7 days
- Adults can live up to 10 months
- Red mites lay eggs in cracks/crevices, not on chickens
Understanding the parasite’s life cycle is key because most non-chemical treatments don't kill parasite eggs (nits). You'll need to repeat applications to break the full cycle before the nits hatch and start laying eggs to restart the infestation.
Choosing Lice Treatments
For lice, our top recommendation is a natural insecticidal powder treatment like
The key is getting good coverage on areas where lice congregate - under wings, around vents and leg feathers. Make sure that you part the feathers before sprinkling and gently massage the powder down onto the skin. Let it work for 2 days then re-apply, continuing every couple of days for at least 8 days or until no more live lice or nits are found.
You can also offer dust bathing areas with
Always wear Personal Protective Equipment (PPE), such as latex gloves and a dust mask when using powders. Even though they contain 100% natural and safe ingredients, they are very fine and can cause sneezing, coughing and aggravation to airways.
Severe Infestations
For severe infestations, a vet may prescribe an off-label systemic treatment like Ivermectin, Elector PSP or Exholt. However, these can have risks including residues in the egg white and yolk and it isn’t yet clear when the residues reduce, if at all, to zero. This is why many of these treatments aren't approved for birds producing eggs for human consumption here in Australia.
From a food safety standpoint, the repeated, natural dusting approach is often preferable.
Another advantage of using dusts is that you can apply them periodically to the chickens themselves as well as litter/bedding areas in the chicken coop. This helps to create a hostile environment for any lice and mites that manage to hop onto chickens or enter the chicken coop.
Tackling Mites
Since mites hide in coop crevices between feedings, you'll need to tackle that environment too. We recommend sprinkling a desiccant dust like food grade Diatomaceous Earth (DE) or
Following the 8 to 10-day treatment period, remove and discard all old bedding and nesting materials before replacing them with fresh
Preventing Re-Infestation
Once your flock and coop are finally parasite-free, it's important to prevent re-infestation. Don't allow wild birds or rodents to re-introduce lice and mites by lingering near feed and water sources.
With mites able to live for months without a host, a full cleanout and treatment of the entire housing area is critical and that means hitting every crack, nook and cranny where they breed. Consider using more metal components than wood to reduce prime mite hiding spots. Don’t think that metal or plastic will mean that your chicken coop is impervious to mites though as any dark places will be habitation targets.
It's also a great idea to quarantine and inspect all new chickens before introducing them to your treated flock. Be cautious of contaminated footwear, clothing or transport boxes when you collect new flock members which could potentially introduce lice or mites.
The Importance of Repeat Treatments
As mentioned, one of the trickiest things about external parasites is that most treatments don't kill the nit eggs. When using natural treatments as recommended in this blog, repeated treatments every 1 to 2 days are advised until the full lifecycle is broken and no new lice or mites are detected.
In conclusion
Treating chicken mites and lice naturally requires a multi-faceted approach. By understanding their life cycles and behaviour, you can effectively combat these pests without resorting to potentially harmful chemicals. Good biosecurity, regular inspections, prompt treatment and proper coop management are key to keeping your flock healthy and parasite-free. Remember to pay close attention to new chickens and implement preventative measures to minimise the risk of re-infestation. With a little patience and diligence, you can create a safe and comfortable environment for your chickens to thrive. To gain more specific information on red mites, have a look at the Poultry Keeper site.


Comments (3)
Thank you for your wonderful information, I am happy to find natural products that work, so over chemical use. Big thank you.
Great help would like more tips as to chickens and their illnesses.
I have no idea how I would cope if it wasn’t for your great & easy to apply products & information. A big thanks from me